
How to: Add a Watermark to SOLIDWORKS Parts or Assemblies
14 August 2026
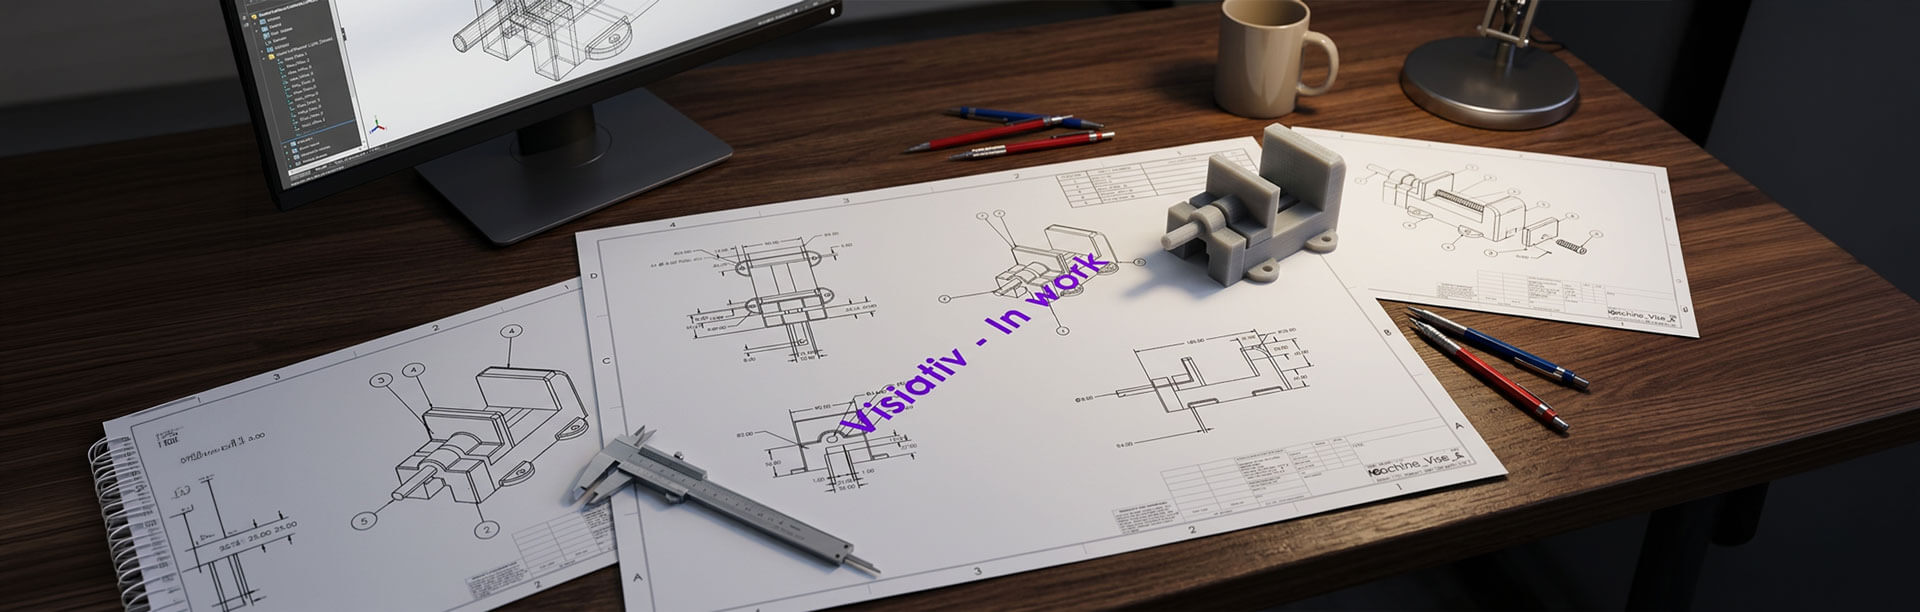
Adding watermarks to SOLIDWORKS parts and assemblies is a simple way to clearly communicate a model’s status when files are shared outside your organisation. In this guide, we’ll show you how to create dynamic SOLIDWORKS parts and assemblies watermarks using custom properties and notes, making it easy to display messages such as Draft, For Review or Released and update them as your design progresses.
Why would we want to add a watermark to parts and assemblies?
Sometimes we send parts or assemblies directly to the client or to the manufacturer, which means they are outside our file systems and the person we’re sending them to can’t see the file status. We may want to communicate the file status to the recipient. We can do this easily with SOLIDWORKS drawings by adding a note in a large font (see example below), but how do you add watermarks in parts and assembly documents?
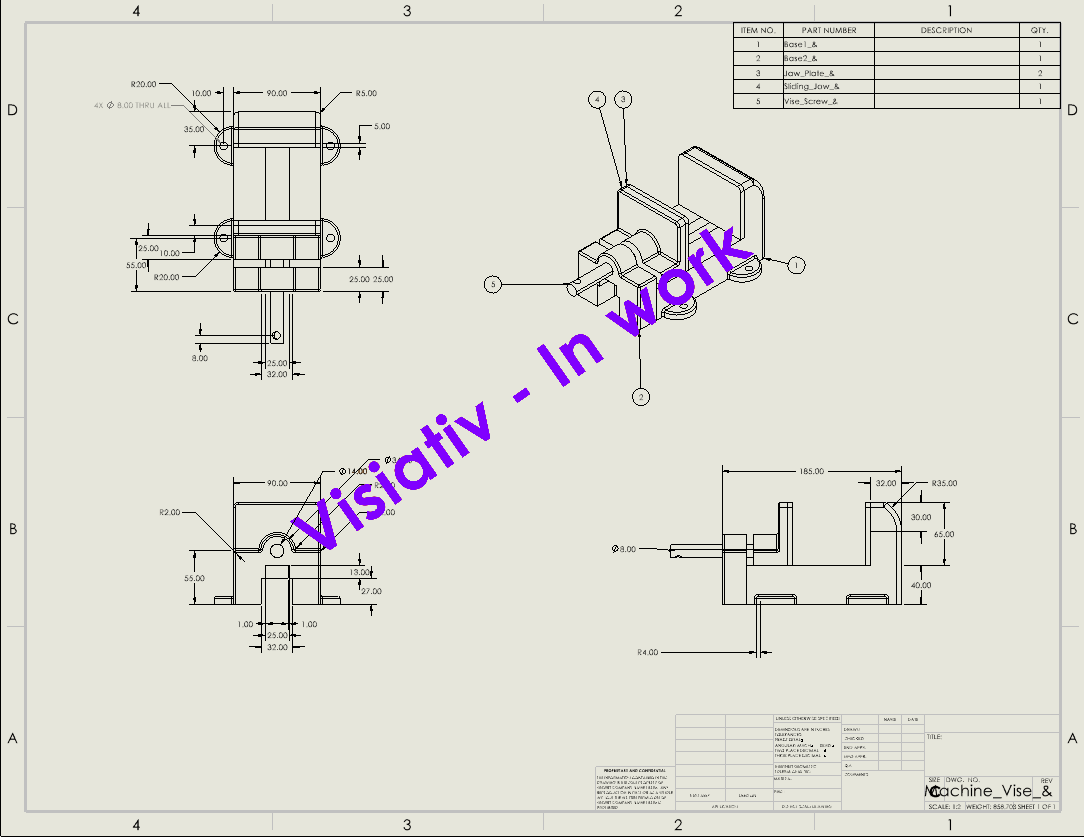
How to add a watermark to SOLIDWORKS parts and assemblies
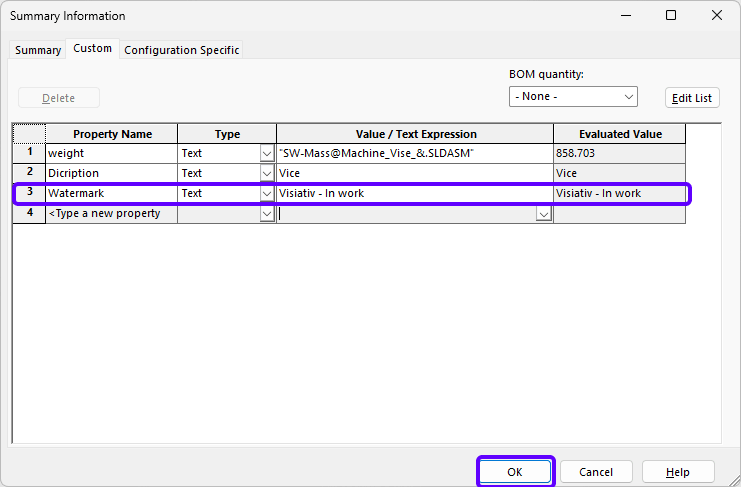
If you’d like to do the same in a part or assembly, start by making a custom property called “Watermark” so we can easily edit the text.
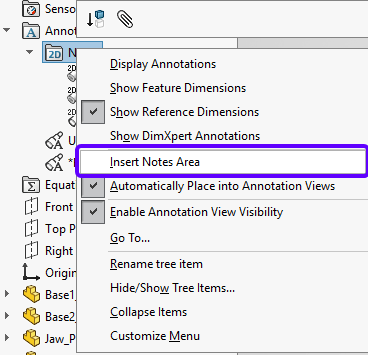
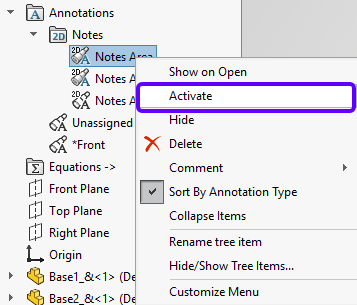
Next, we need to add a note area if one isn’t available in the 2D Notes folder or activate an existing notes area. To add a notes area, right-click the “2D Notes” folder (found in the “Annotations” folder) and click on “Insert Notes Area”. To activate an existing right click one of the areas found in the 2d notes folder and click “Activate”. (Note: if Activate isn’t an available option, it may already be activated).
 |
 |
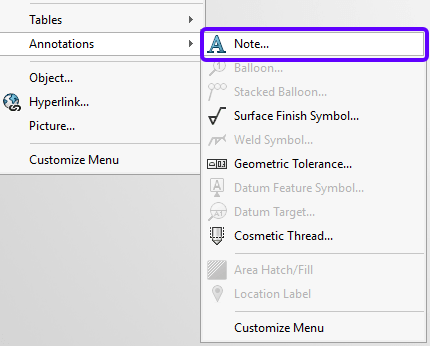
Now we can insert a note; go to Insert > Annotation > Note.
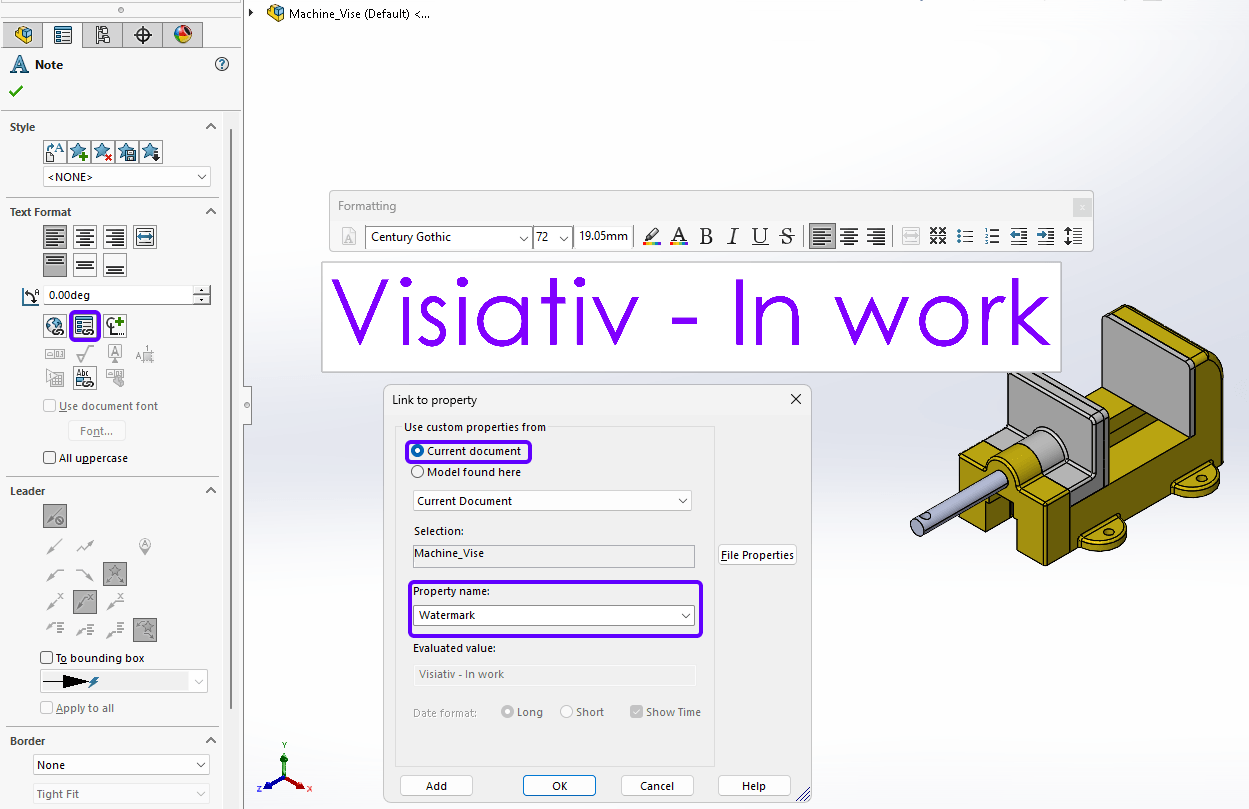
Then we’ll link the note to the Watermark custom property by clicking on the “Link to Property” button. Then select the custom property “Watermark”; this links the text in the note to the custom property of the document, making it easy to modify as the state of the file changes through your company’s workflow. You can change the font and colour using the formatting toolbar. (Double-click on the text to access the toolbar).
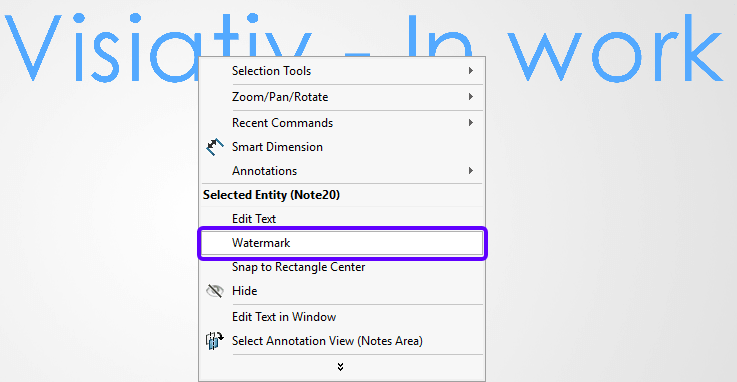
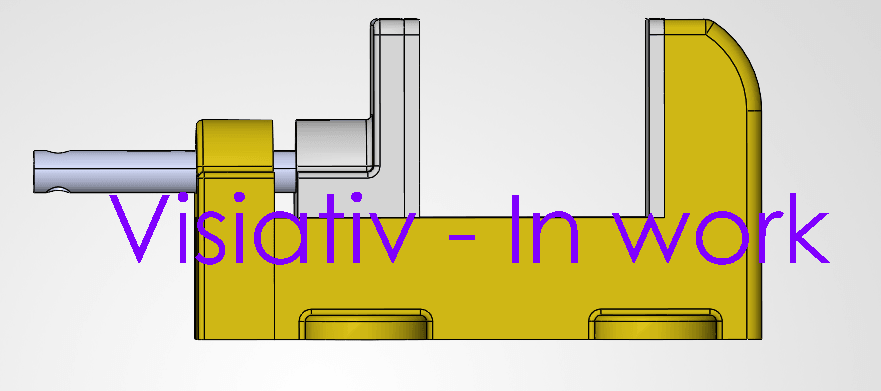
Now we haven’t quite finished, as we can go a little further and make the note a watermark. Right-click on the note and select “Watermark”.
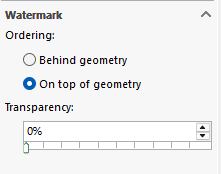
Now we have some additional options in the property manager of the note. Select the note to access the property manager; you should see the watermark option at the bottom of the menu now. Here you can keep the text on top of or behind the model, as well as change the transparency.
This is how to add a watermark to a SOLIDWORKS part or assembly!
If you need help with this and you’re covered by our support service, please contact the Visiativ technical support team on 01223 200699.
Watch the Video Tutorial
We’ve produced a video demonstration of this workflow below.
We hope you found this SOLIDWORKS tutorial useful.
For more tips, tricks and tutorials, head over to our news & resources page.
Don’t forget, Visiativ UK & Ireland offer a full selection of official SOLIDWORKS training courses online or in the classroom if you’d like to learn even more tips and tricks from our experts!
 |
About the author: This guide was written by SOLIDWORKS Applications Engineer, James Kingman. James has been with the Visiativ Technical Support Team since 2024. |
|||
|
|
||||