

How to: Move SOLIDWORKS files without losing references
11 August 2026
Hi, I’m Graeme, one of the Elite Applications Engineers supporting the helpdesk at Visiativ UK & Ireland. I recently spoke with a customer who needed a simple way to reorganise their SOLIDWORKS file structure without breaking their SOLIDWORKS file references between parts, assemblies and drawings.
In this article, we’ll look at how myCADtools can help you manage and restructure SOLIDWORKS files quickly and efficiently, while keeping those all-important file references intact.
The Problem
Customer: Over time, our SOLIDWORKS file structure has grown organically and now needs to be reorganised into more logical folders. However, many of our parts and assemblies are heavily inter‑referenced, and moving files manually creates a real risk of breaking links, missing dependent files or corrupting assemblies.
Without a reliable way to identify all references and dependencies, it’s difficult to understand the full impact of moving an existing file. As a result, restructuring becomes slow, high‑risk and dependent on manual checks, which increases the likelihood of errors, rework and lost productivity.
Our Solution
Customer: Our SOLIDWORKS reseller Visiativ helped us find a solution to our problem using the ProjectExplorer app included as part of the myCADtools suite.
ProjectExplorer allowed us to quickly reorganise our SOLIDWORKS files within Windows Explorer with quick cut and rename operations. Meanwhile, in the background, the app worked away re-linking the file references.
The Process
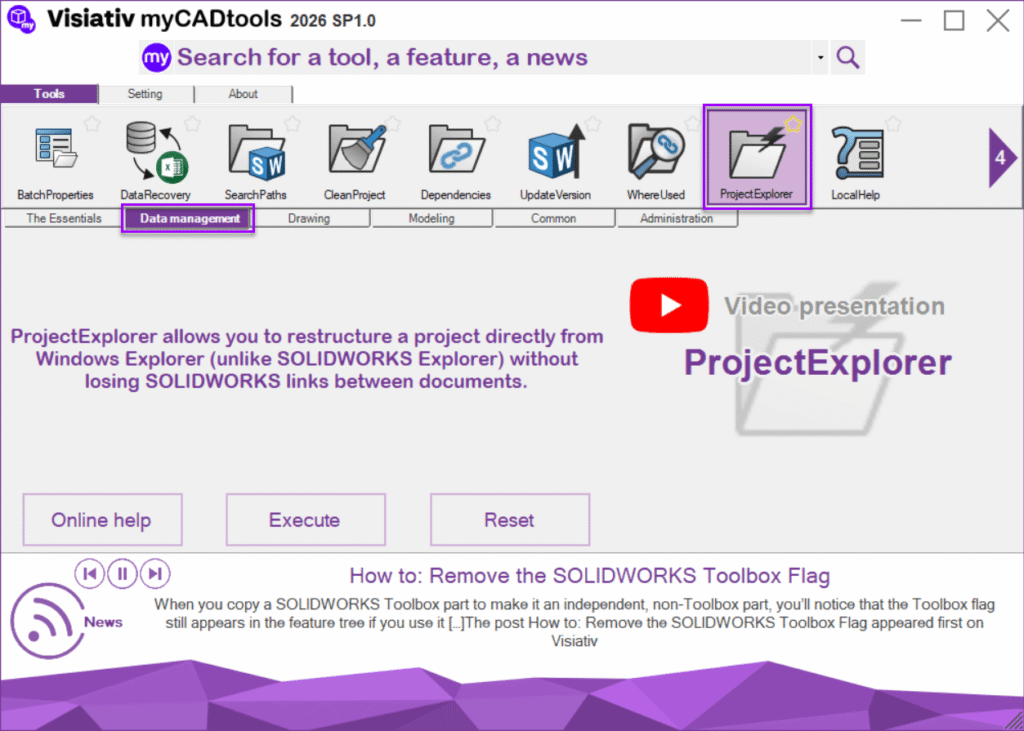
1. Open the myCADtools suite and locate the ProjectExplorer app in the data management tab.
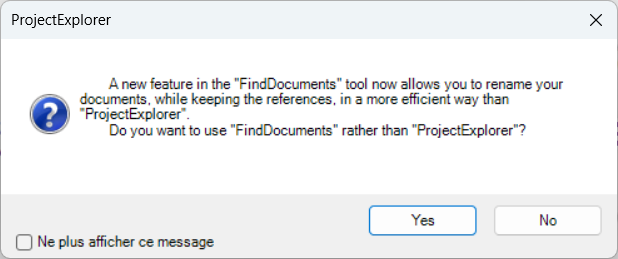
2. At this point, we can bypass the message about using the FindDocuments app by clicking “No”.
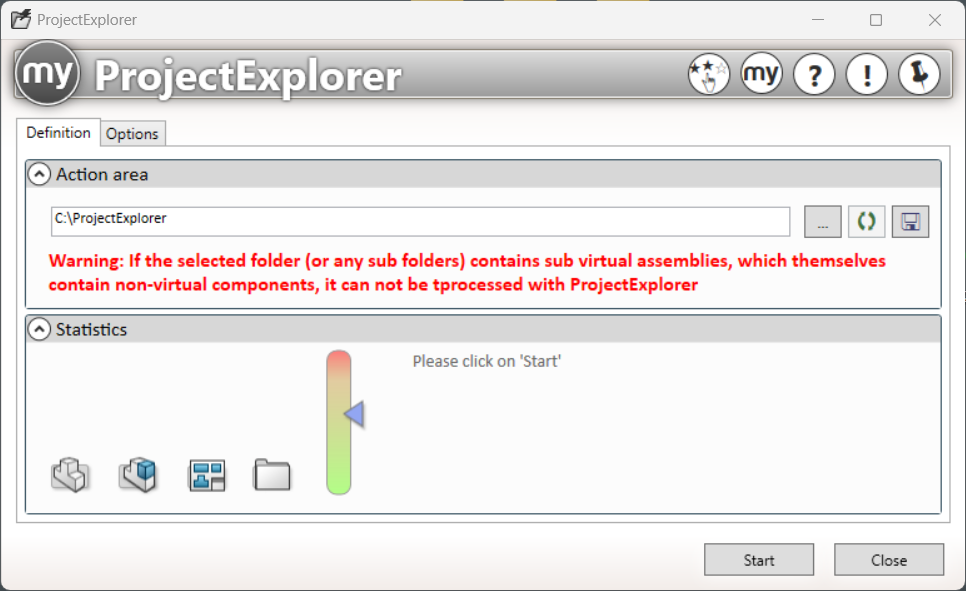
3. Under the “Action Area” we choose the top level folder of the location we need to move files within.
4. Then, press the “Start” button and SOLIDWORKS will load and ProjectExplorer will scan the selected folder.
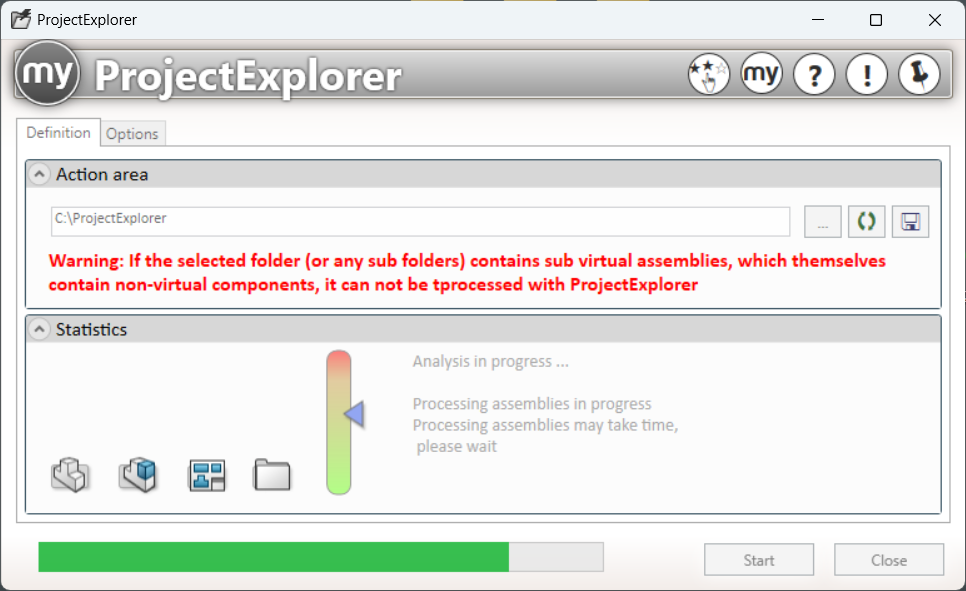
5. When the green progress bar is finished we see the two notification boxes
6. Then, press “Yes” to continue
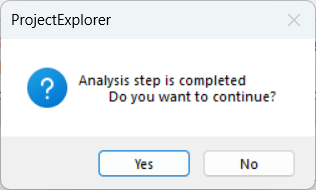
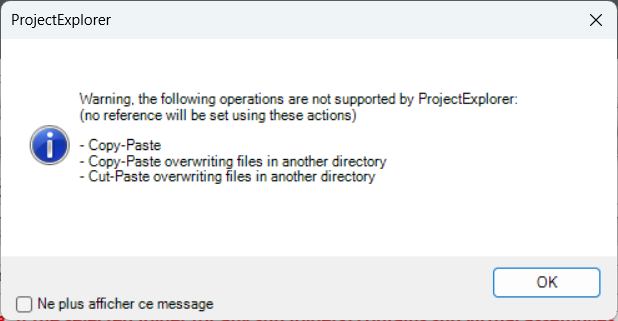
7. The next box is quite important as this outlines what operations we can perform on the files.
There are 3 things we cannot do during this:
- Copy-Paste
- Copy-Paste Overwriting other files
- Cut-Paste Overwriting other files
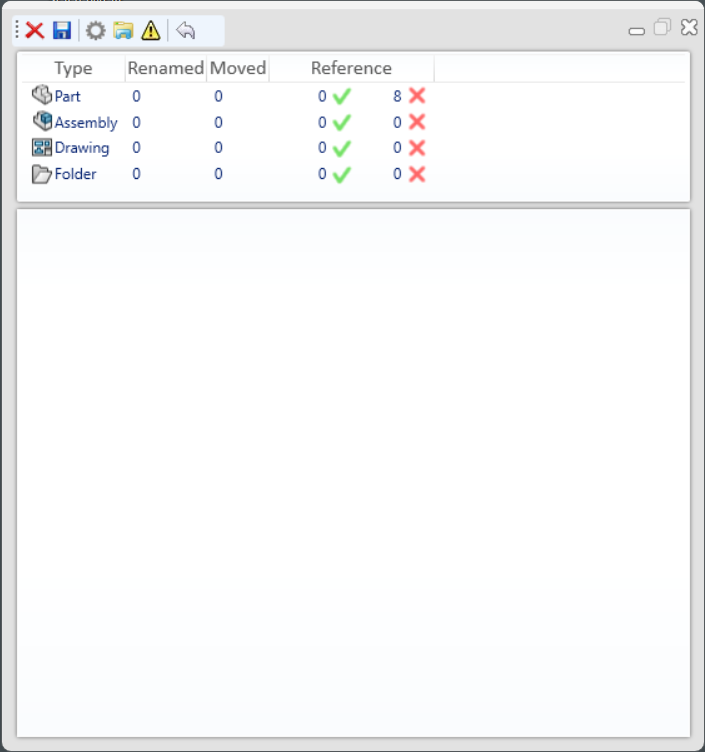
8. The final box will manage our processes as they are performed in Windows Explorer.
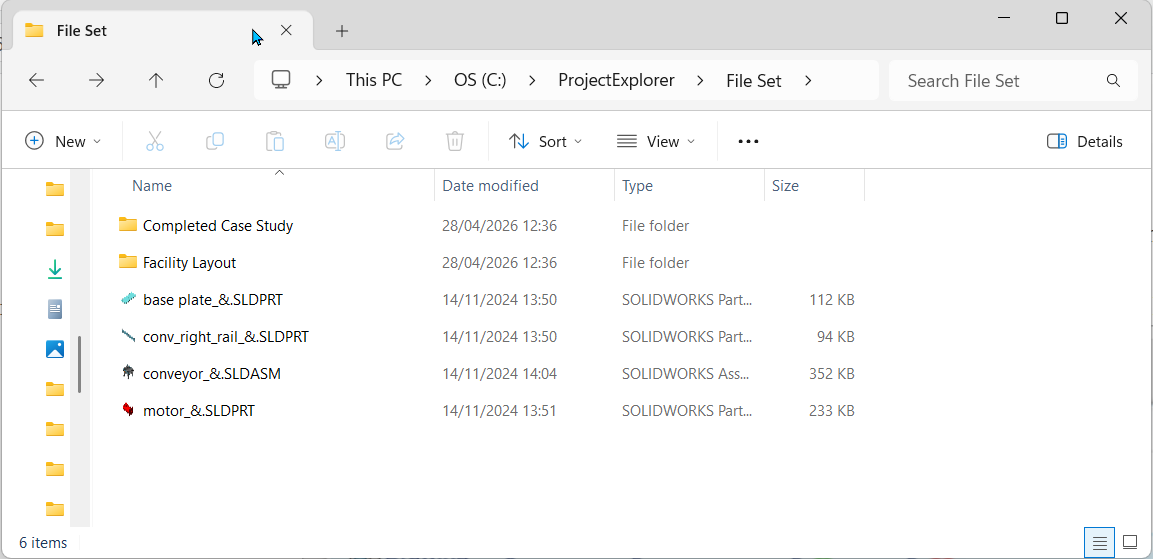
9. At this stage, we can open the selected folder in Windows Explorer and begin moving and renaming our files.
10. As a file gets renamed or moved we see the completed operations being processed and displayed in the ProjectExplorer Window and the status of the references for the files.
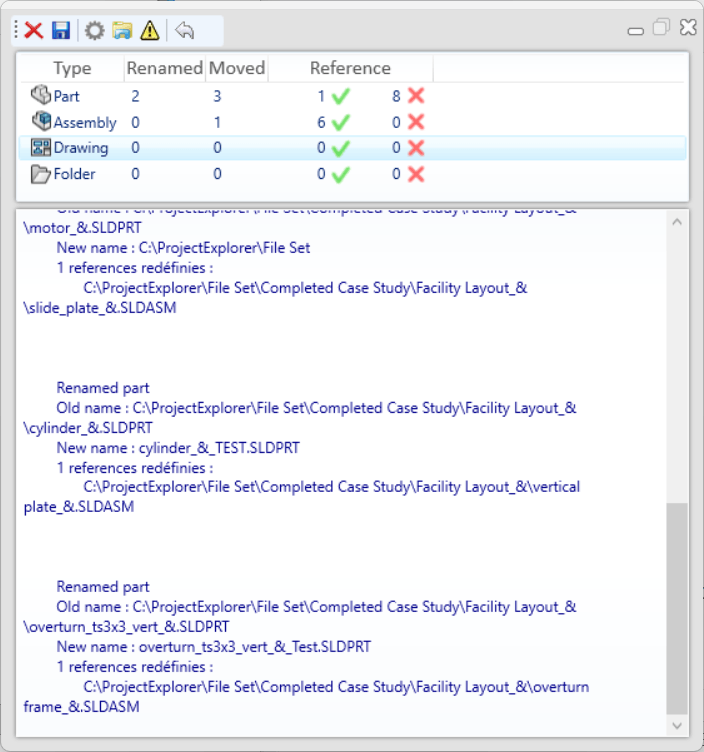
And there you have it, the process is complete!
Now you know how to quickly manage your project files with myCADtools for SOLIDWORKS, only available at Visiativ.
Don’t have Visiativ myCADtools for SOLIDWORKS yet? Get started with a free 30 day trial here!
I hope you enjoyed this article and that you found it useful. Before you go, why not check out more solutions, resources and tutorials from the Visiativ engineers here…
 |
About the author: This guide was written by Elite SOLIDWORKS Applications Engineer, Graeme Billingsley. Graeme has been with the Visiativ Technical Support Team since 2022. |
|||
|
|
||||