3DEXPERIENCE Change Actions for Beginners
13 May 2026
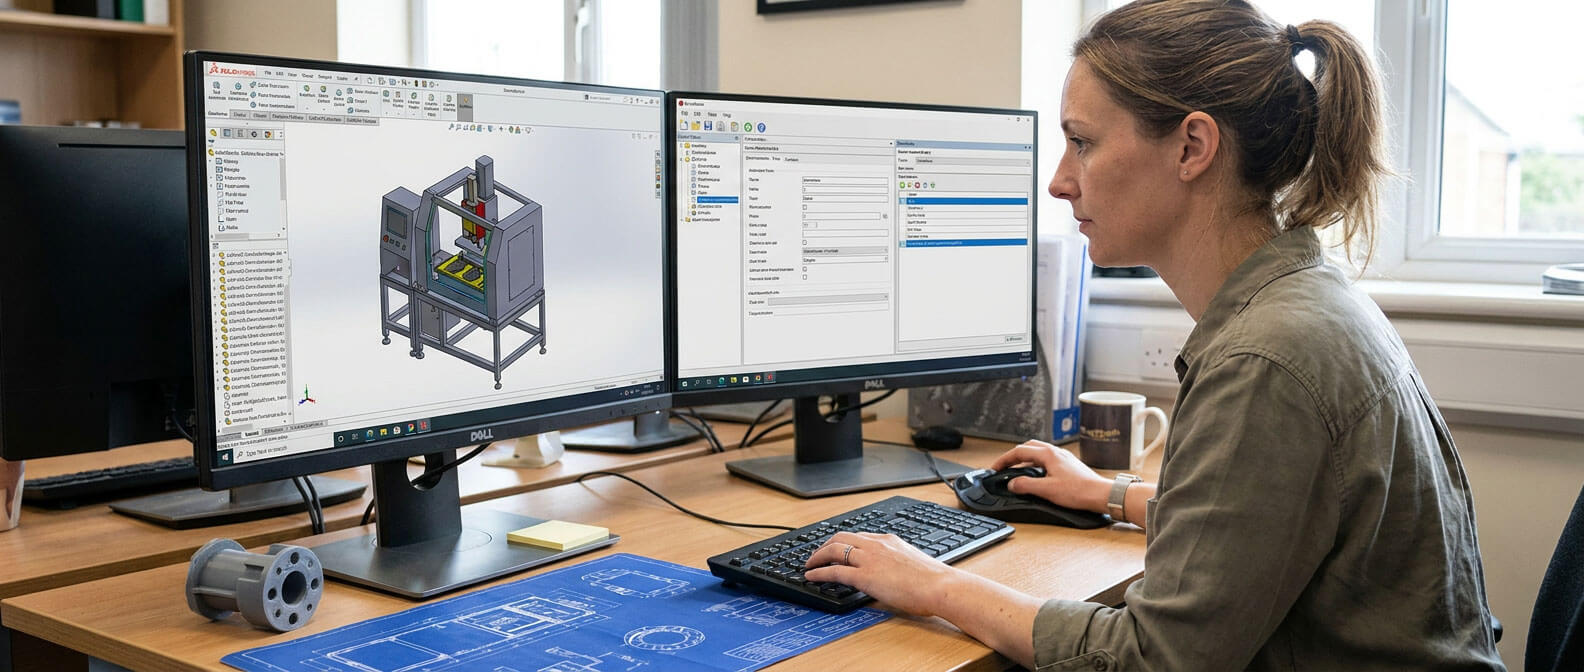
Managing engineering changes can be complex, but 3DEXPERIENCE Change Actions provide a structured way to control and track every step of the process. In this beginner-friendly guide, we’ll walk you through what Change Actions are, why they matter and how to create and manage them within the platform.
What Are Change Actions?
Engineering Change Actions (ECAs) define the steps and activities teams take to implement an engineering change in a product or system. These changes might involve updating a design, switching materials, adjusting processes, or revising documentation. Teams use ECAs to fix problems, boost performance, cut costs, or meet new requirements.
Because ECAs usually span several stages, they demand clear coordination across multiple departments.
Why Change Actions Matter
Change actions directly impact product quality, performance, and competitiveness. Here’s what they enable teams to do:
-
Improve Quality – Resolve defects and raise standards.
-
Manage Costs – Prevent waste and reduce rework.
-
Stay Compliant – Meet regulations and industry standards.
-
Delight Customers – Deliver products that meet expectations.
-
Adopt New Tech – Integrate innovations quickly.
-
Work Efficiently – Keep processes smooth and teams aligned.
-
Control Risk – Catch issues before they escalate.
-
Support Sustainability – Design and manufacture responsibly.
-
Integrate with PLM – Fit into the full Product Lifecycle.
Initiating Change Actions in 3DEXPERIENCE
To initiate a change action, a user must first create one using the Change Execution app. Give the change action a name, add your credentials, and fill in other relevant information.

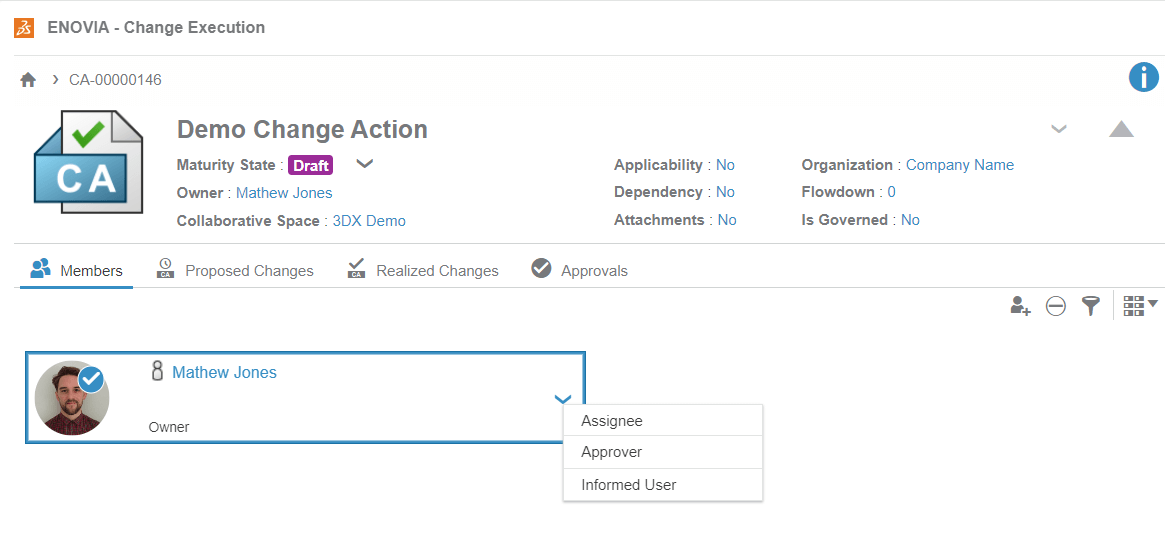
On the first tab of the CA, you can add members and assign them to:
- Assignee – Person responsible for carrying out CA
- Approver – Person responsible for approving the CA
- Informed user – Person who is kept informed of CA progress
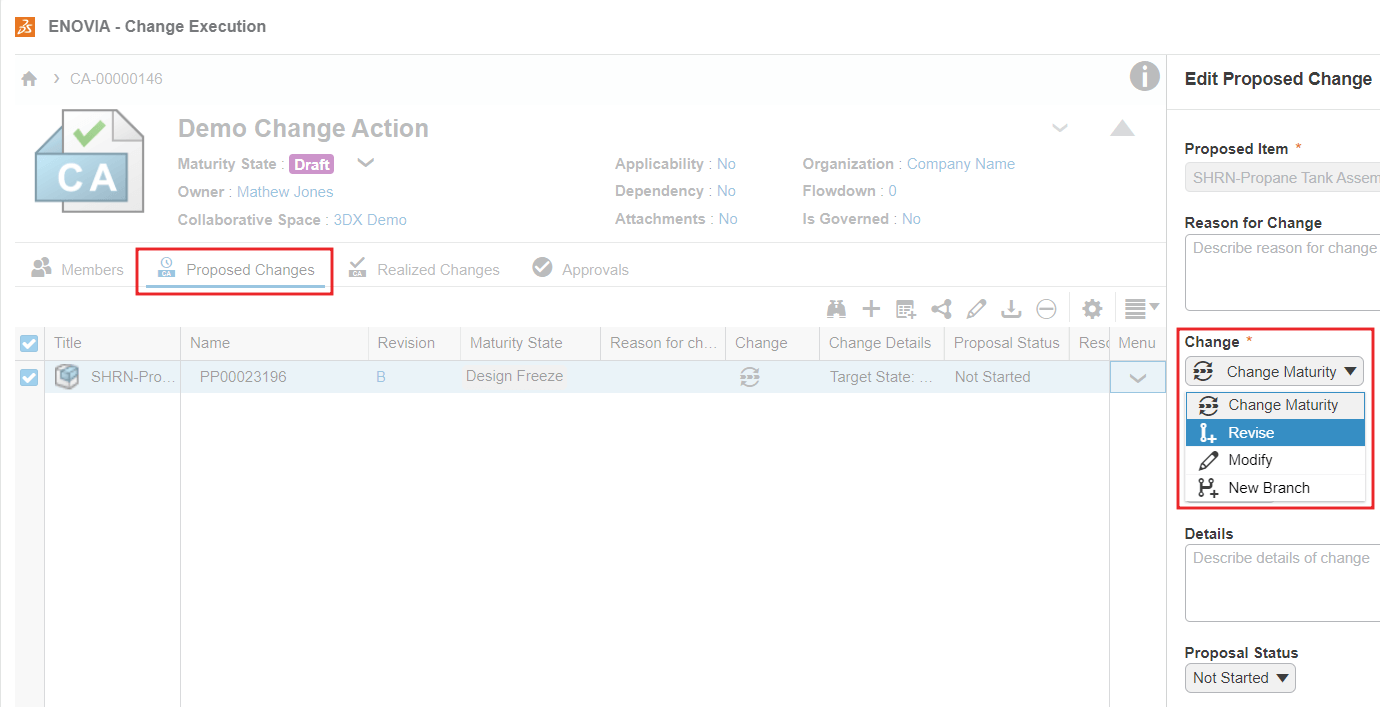
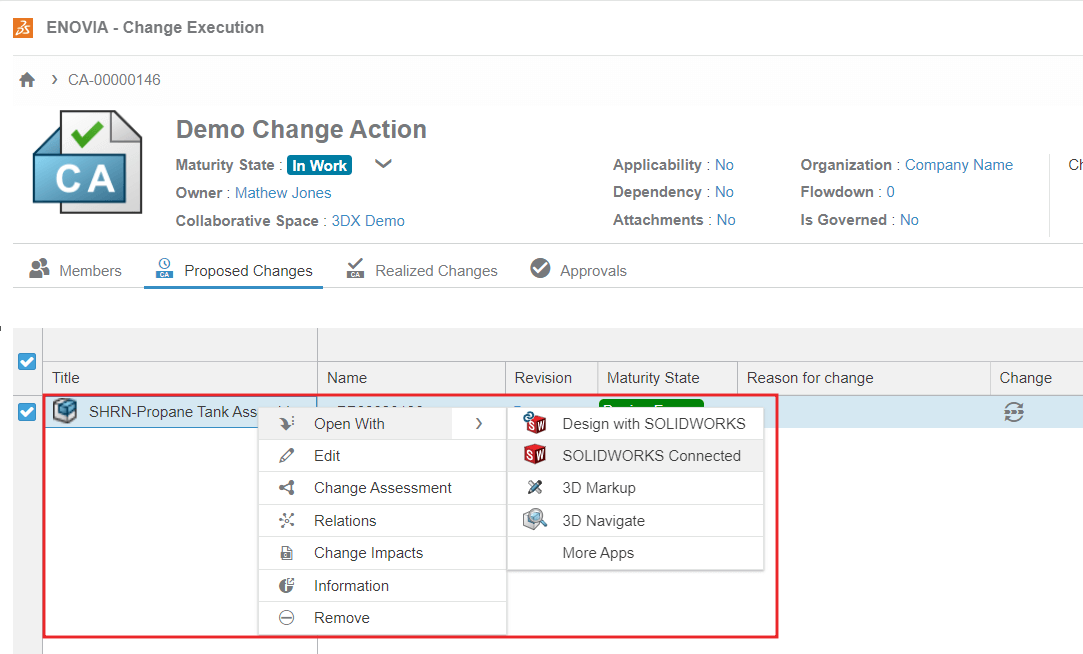
In the ‘Proposed Changes’ tab, we can add the files that are to be changed. By using the dropdown under ‘Menu’ we can edit the proposed change to decide what type of change we will conduct.
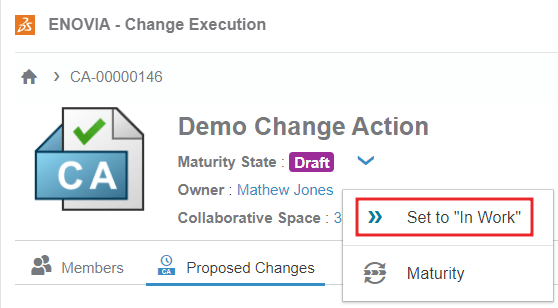
Once the members have been added, assigned roles and the files subject to change have been added, the CA can be set to ‘In Work’. This will notify the assignee to start working on the CA.
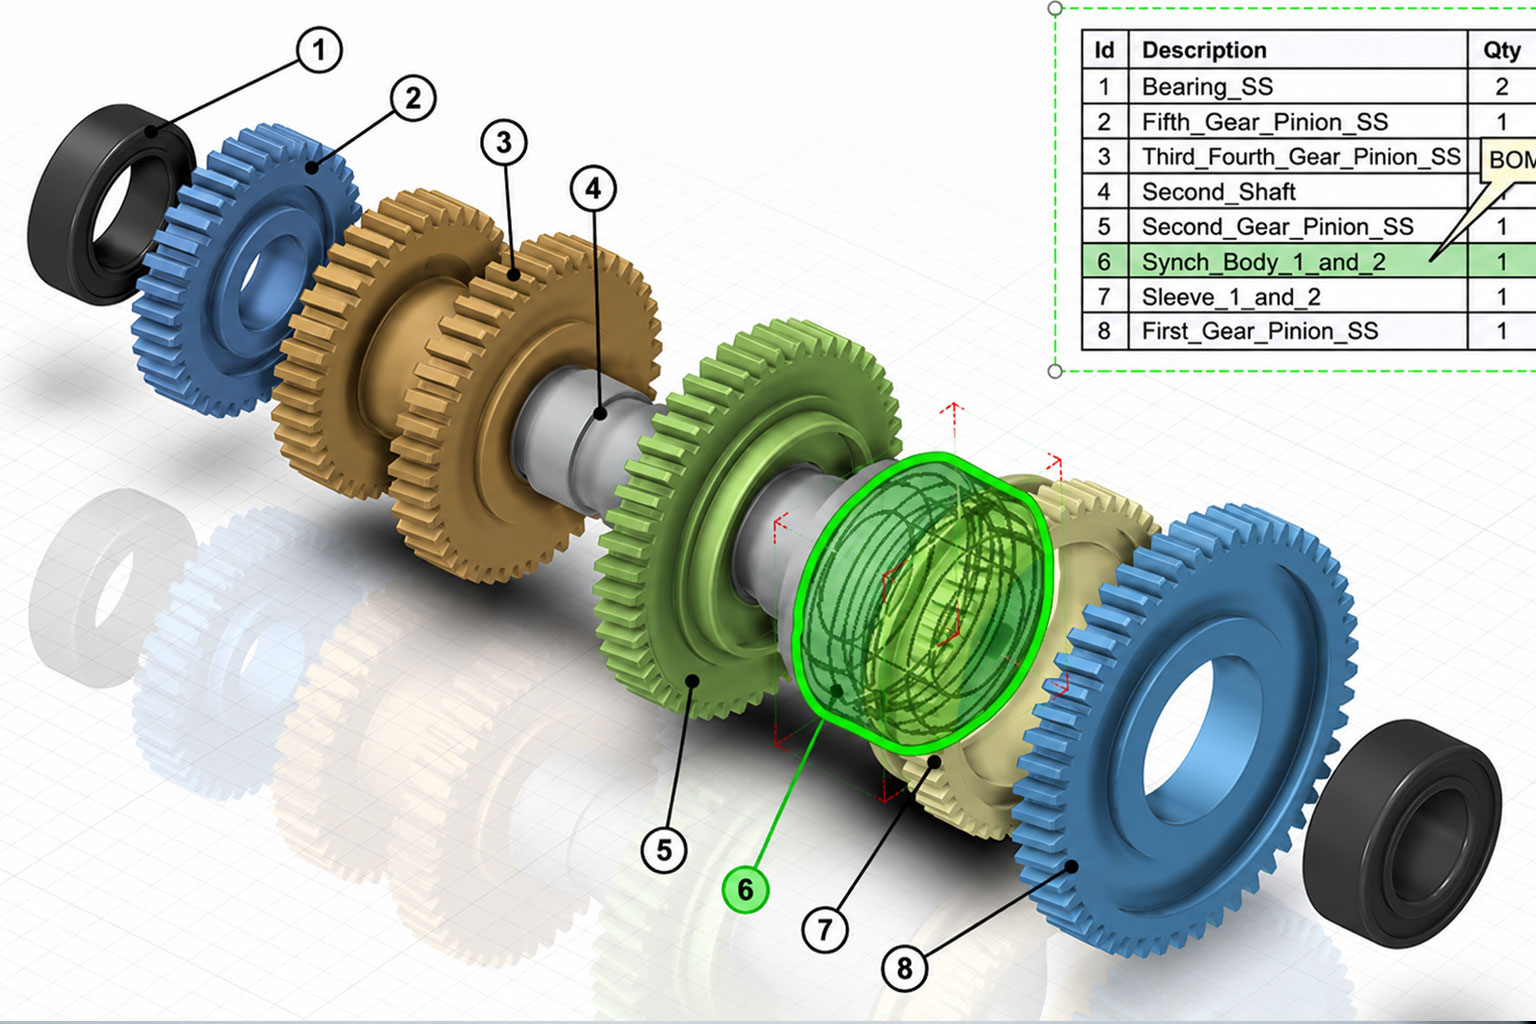
Once opened, the Assignee can investigate the change and use other platform apps/SOLIDWORKS to view the file.
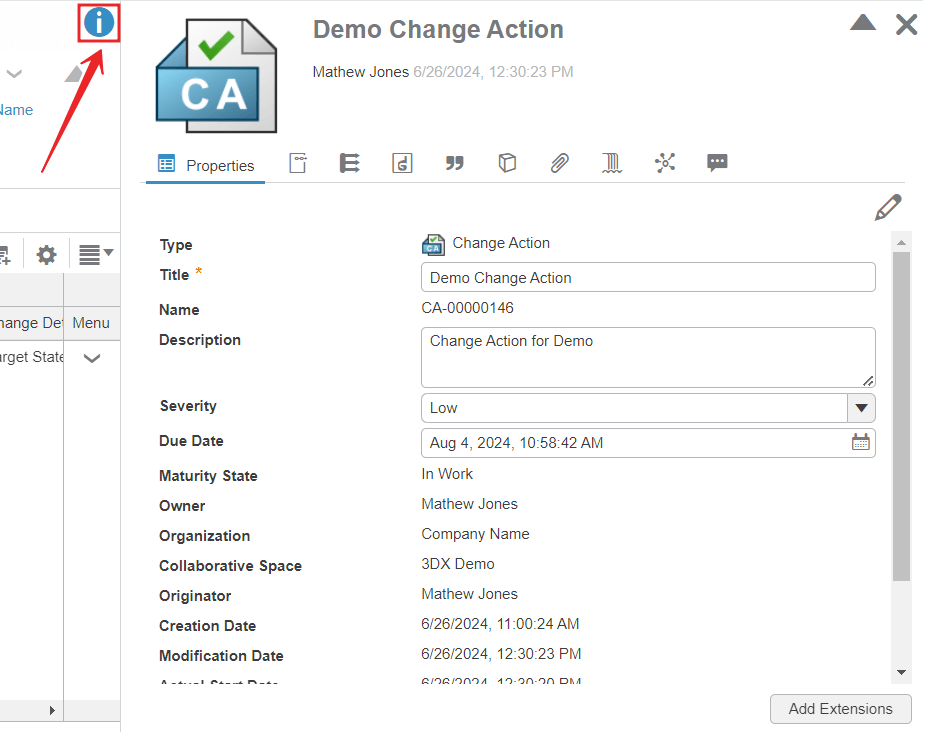
They can also add any additional information by selecting the options icon:
After the assignee finishes, they move the CA into ‘Approval’.
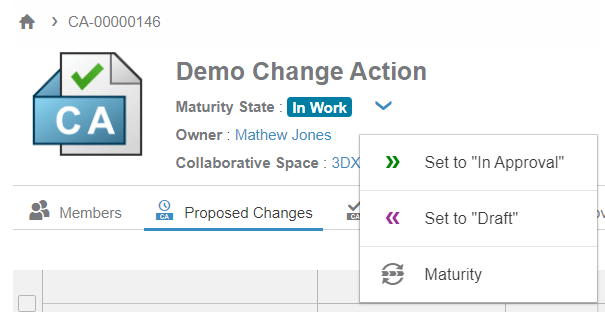
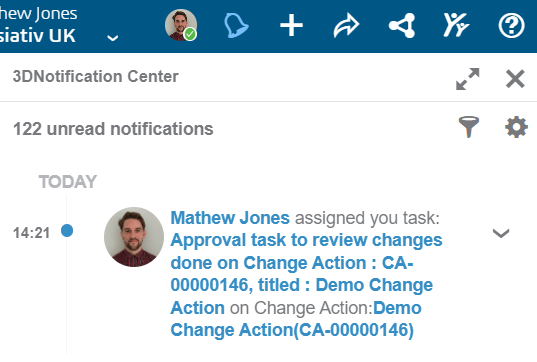
The approver immediately gets a notification with a direct link to review it.
The approver can then review the contents of the CA and choose to approve or reject it, giving feedback either way:

When the Change Action finishes, the system notifies everyone involved and processes all required actions.
We hope you’ve found our blog on 3Dexperience change actions useful. For more SOLIDWORKS tutorials, head over to our news and resources pages.
 |
About the author: This guide was written by 3DEXPERIENCE Product Manager, Lucy Bryan. Lucy is an Elite SOLIDWORKS Applications Engineer and has been with the Visiativ Technical Support Team since 2019. |
|||
|
|
||||