
How to: Remove the SOLIDWORKS Toolbox Flag
17 April 2026
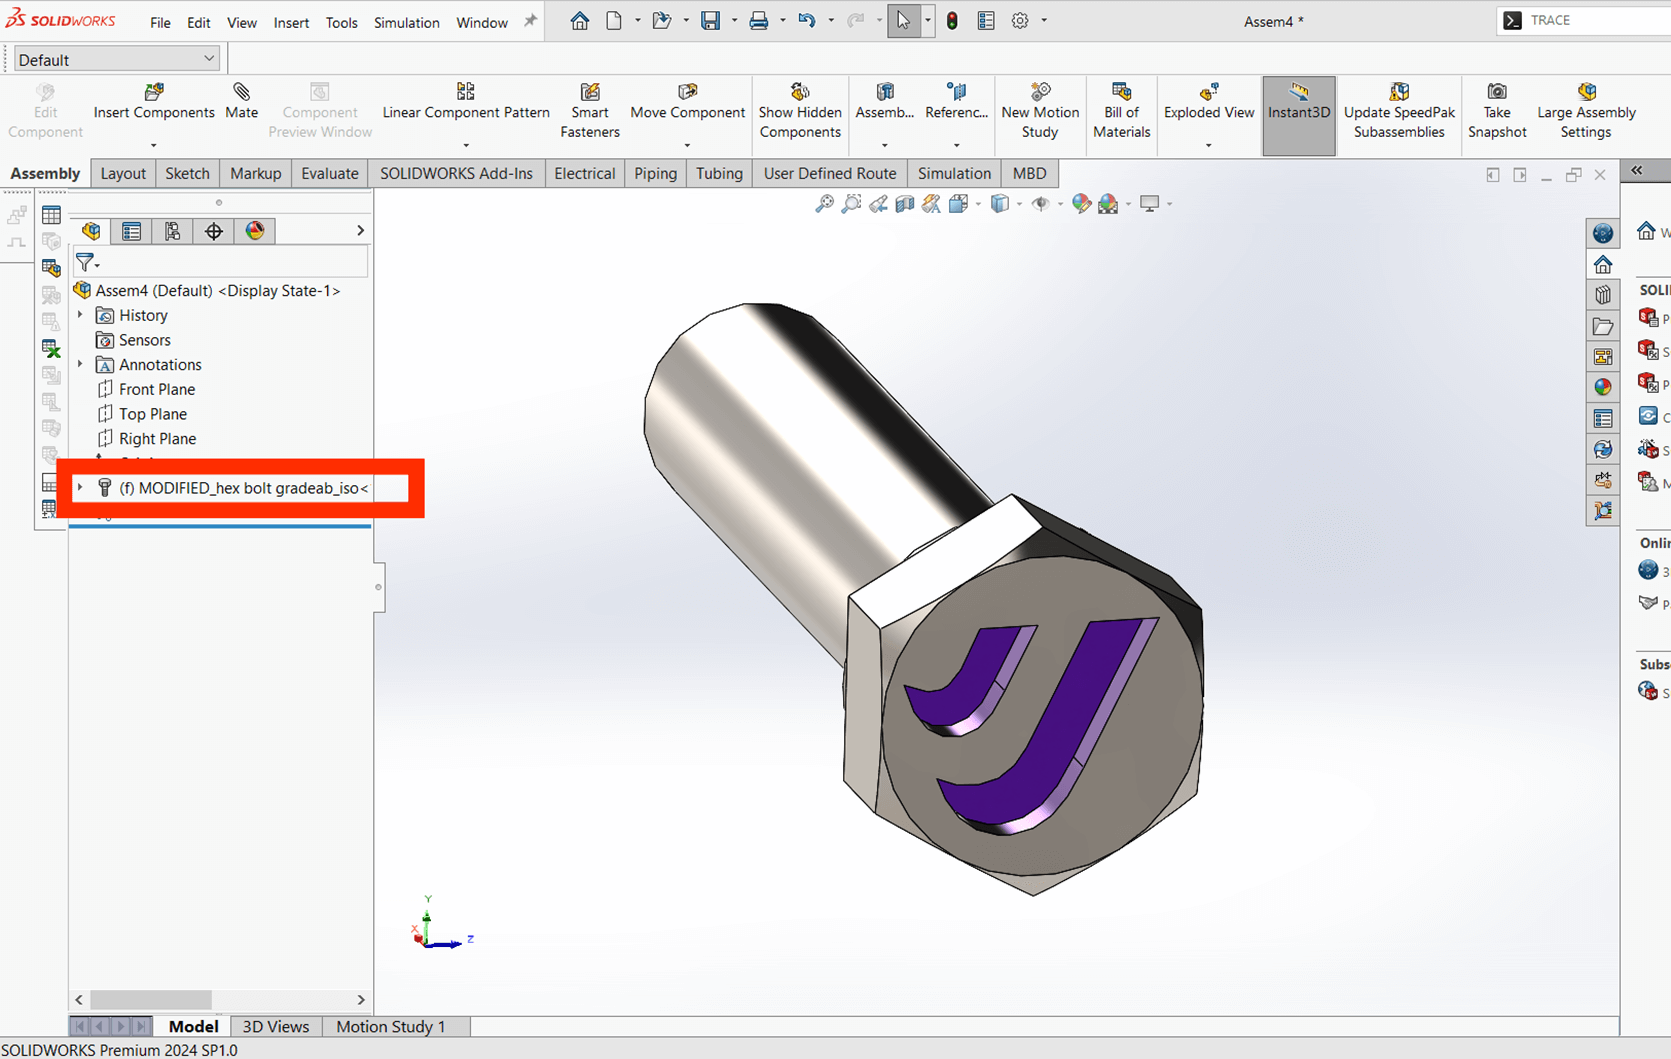
When you copy a SOLIDWORKS Toolbox part to make it an independent, non-Toolbox part, you’ll notice that the Toolbox flag still appears in the feature tree if you use it in an assembly. Copying the part removes its Read-only status, but it doesn’t remove the Toolbox link. This tutorial from SOLIDWORKS Applications Engineer, Jak Szura, shows you how to permanently remove the SOLIDWORKS Toolbox flag from modified Toolbox parts.
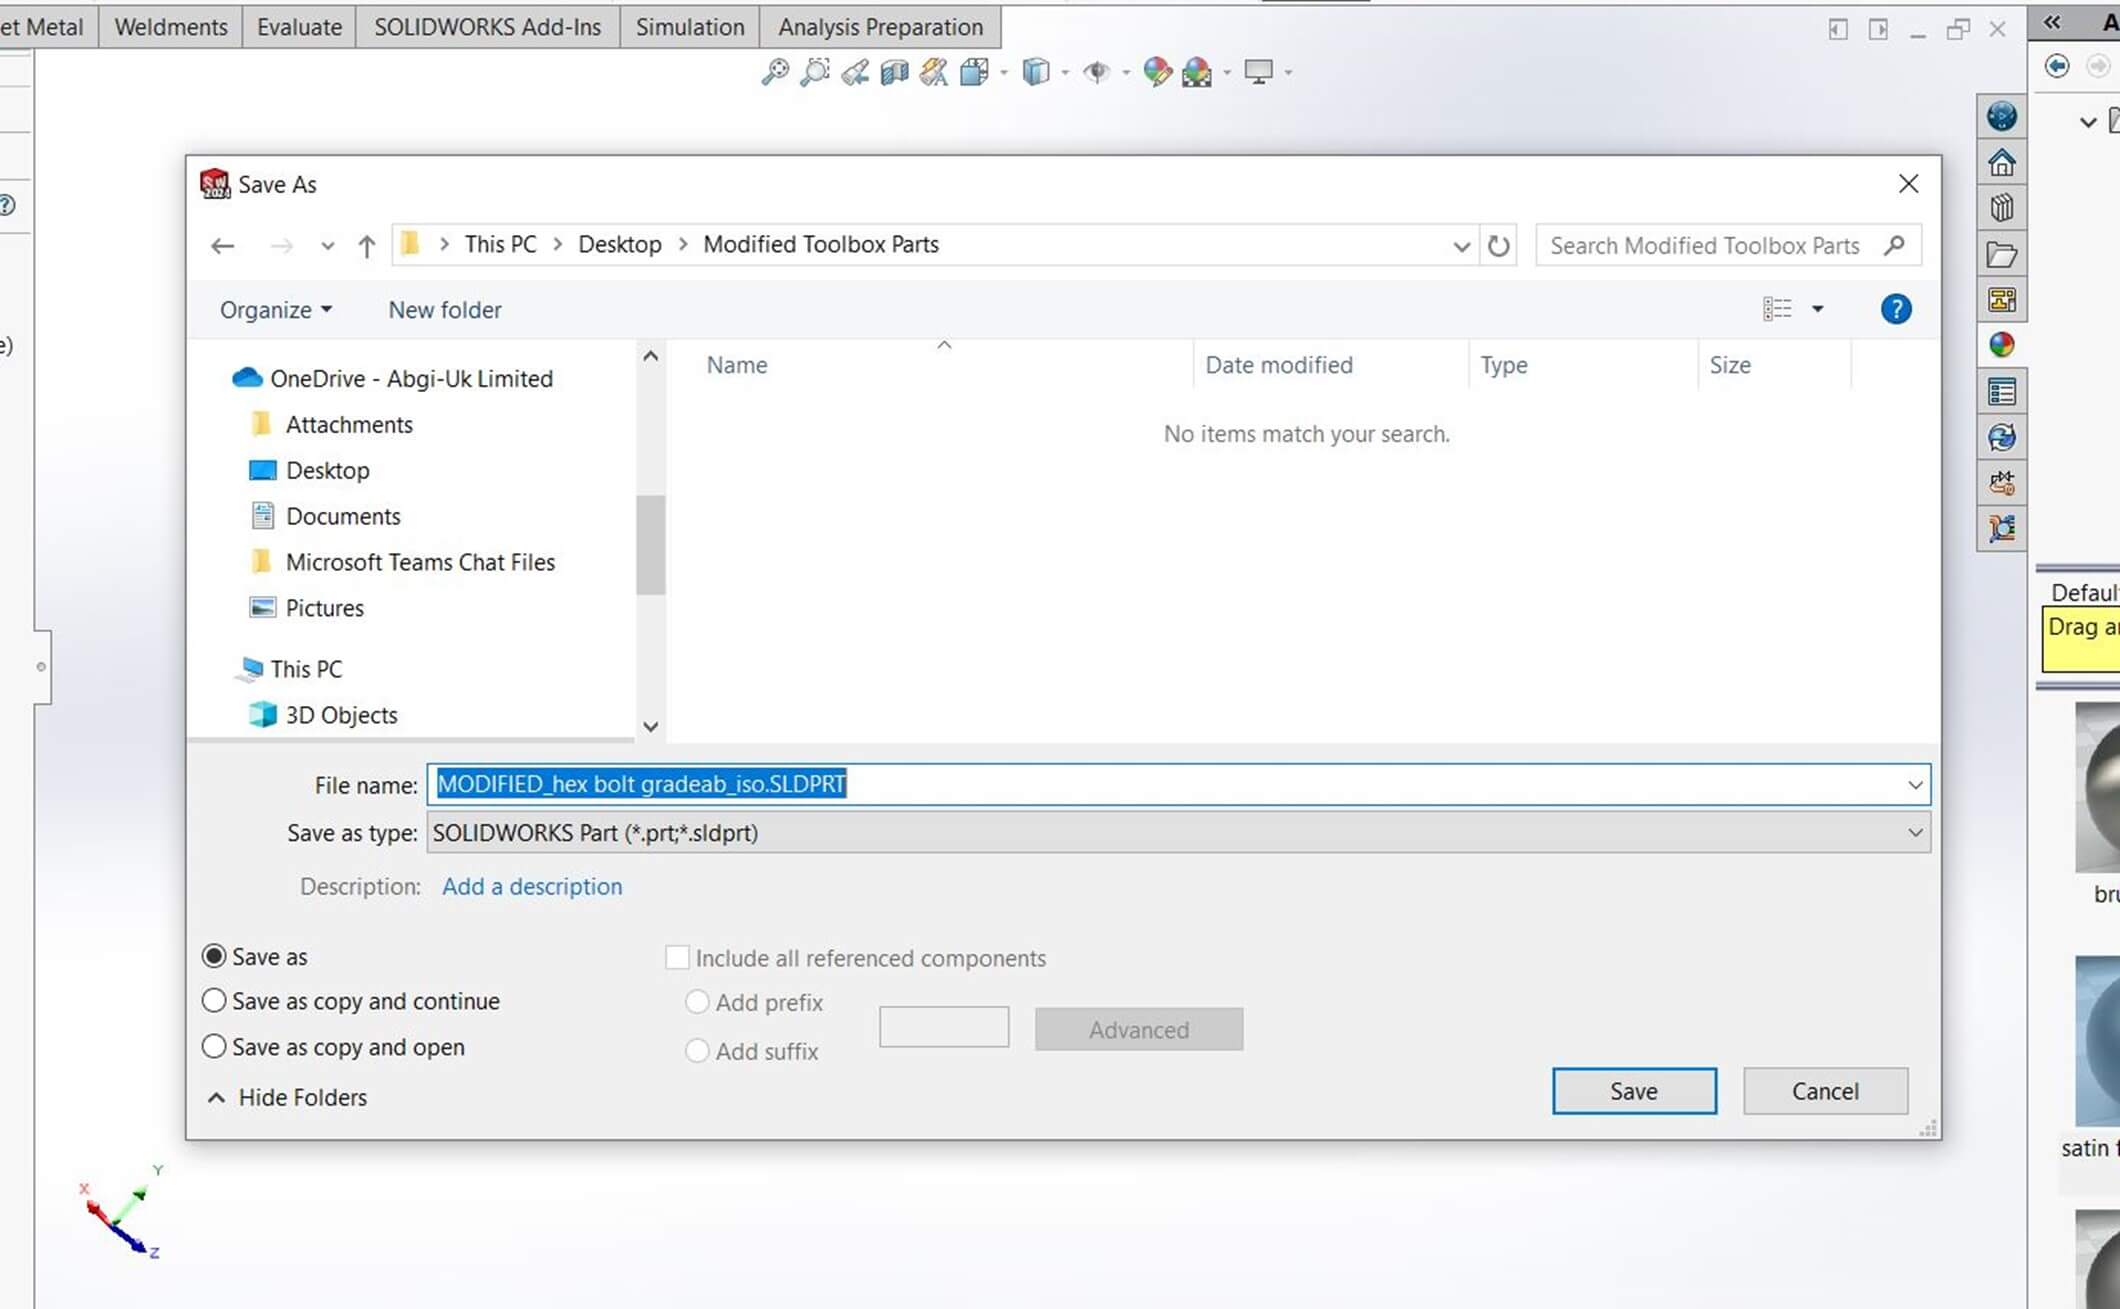
Step 1 – Save the modified Toolbox part
Save the modified Toolbox part with Save As to create a unique part file. This removes the Read Only status but the Toolbox link remains.
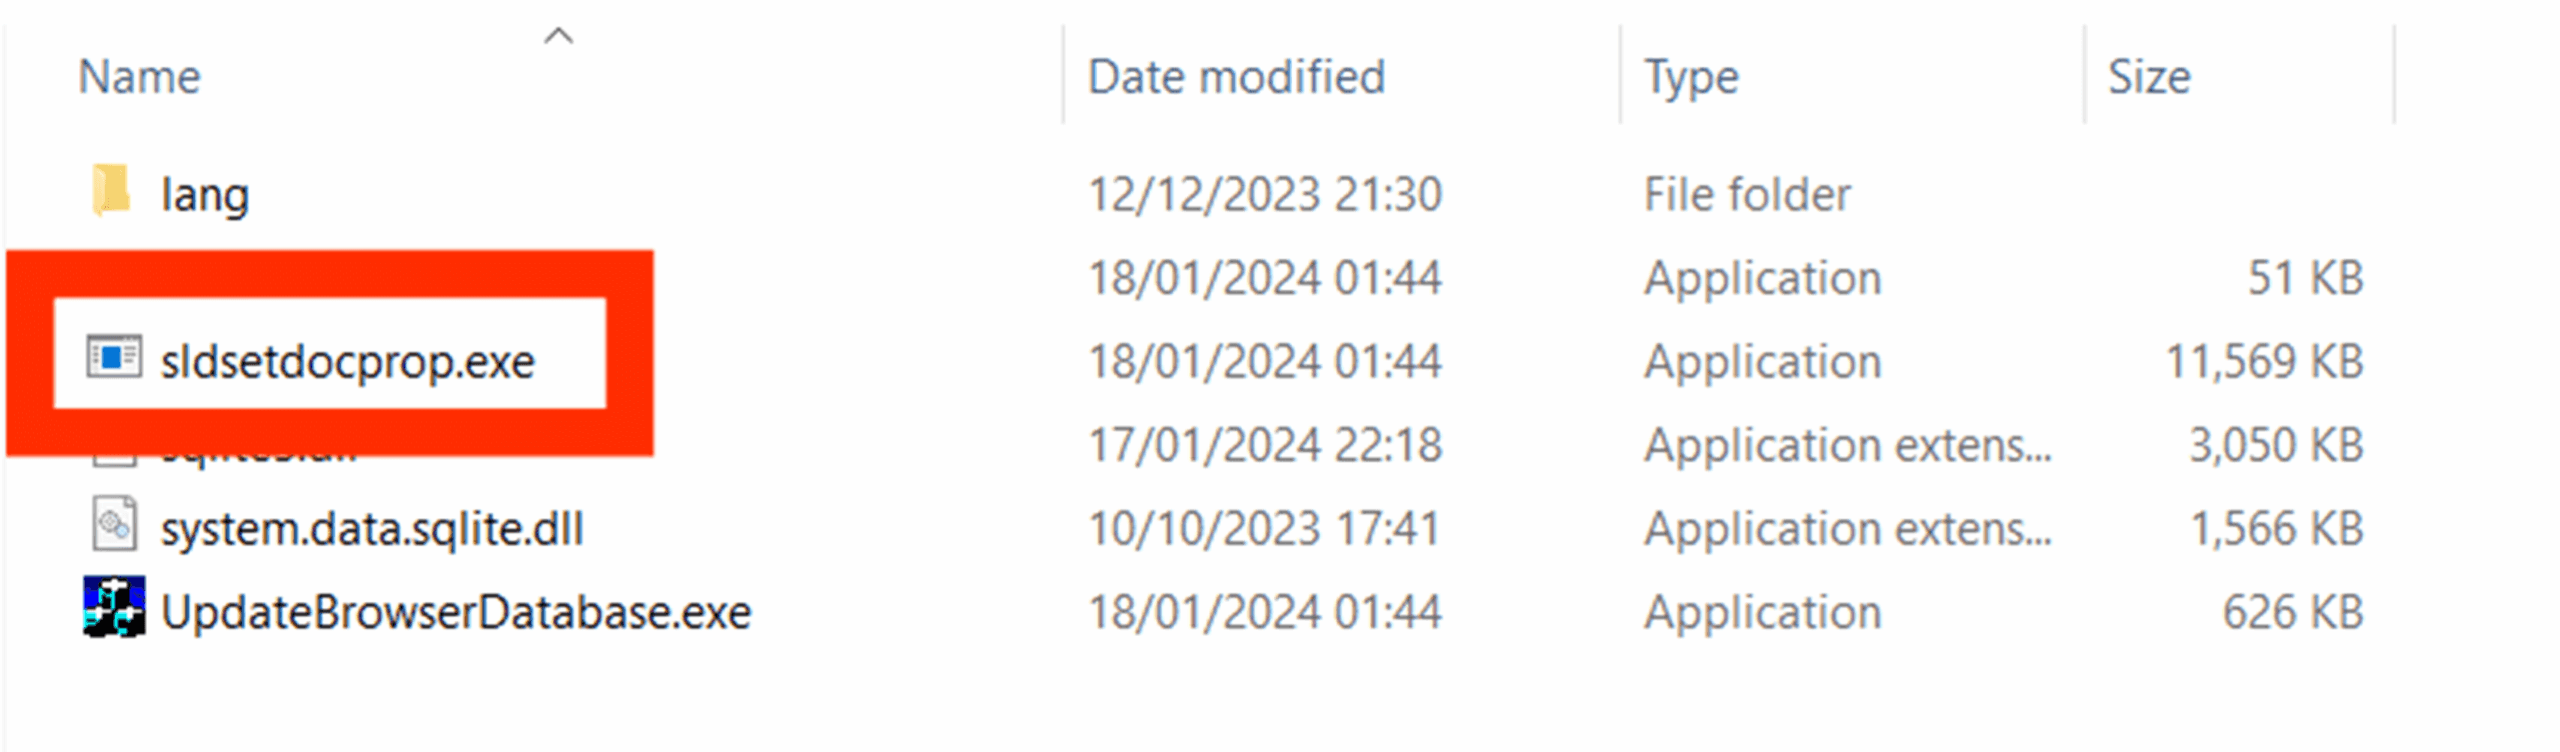
Step 2 – Run the SOLIDWORKS executable sldsetdocprop.exe
Go to the install directory (for example, C:\Program Files\SOLIDWORKS Corp\SOLIDWORKS\Toolbox\data utilities) and run sldsetdocprop.exe as administrator.
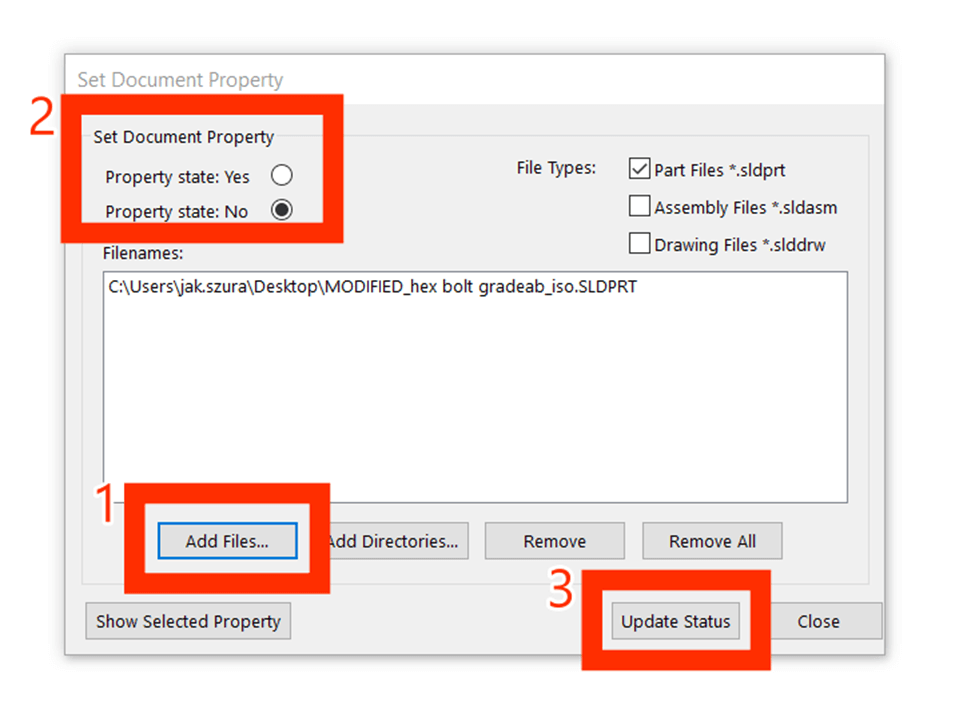
Step 3 – Add files and change the property status
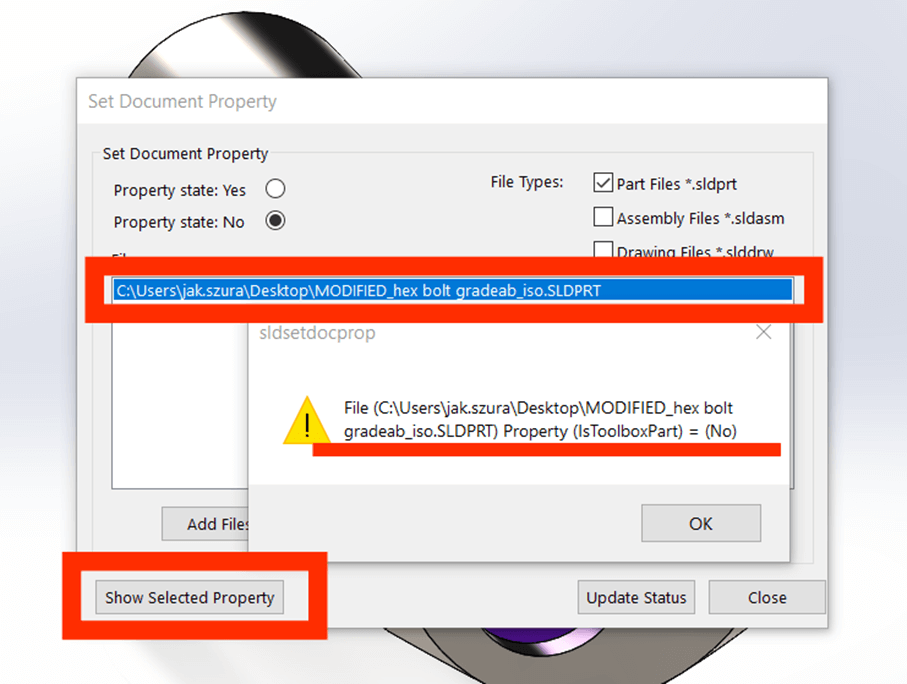
Add the file(s) you want to update. Change the Toolbox property state to No, then click Update Status to remove the Toolbox link.
Step 4 – Verify the Toolbox flag is removed
In the Set Document Property dialog box, select the part and click Show Selected Property to check its status.
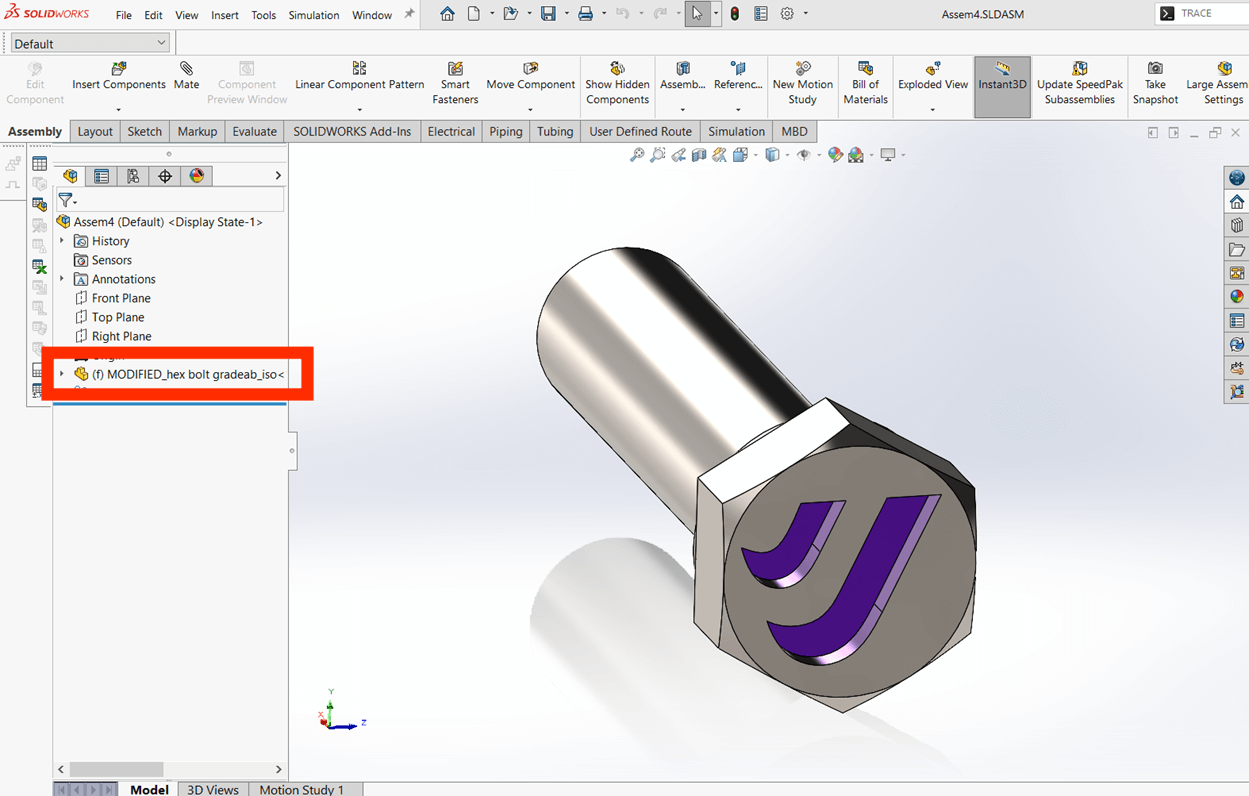
The feature tree now shows the general part icon instead of the Toolbox flag when it’s inserted into an assembly.
I hope you’ve found this useful! For more SOLIDWORKS helpful tutorials, head over to our news and resources pages here…
 |
About the author: This guide was written by SOLIDWORKS Applications Engineer, Jak Szura. Jak has been with the Visiativ Technical Support Team since 2023. |
|||
|
|
||||