How To: Use Automatic Approvals for SOLIDWORKS Files
19 March 2026
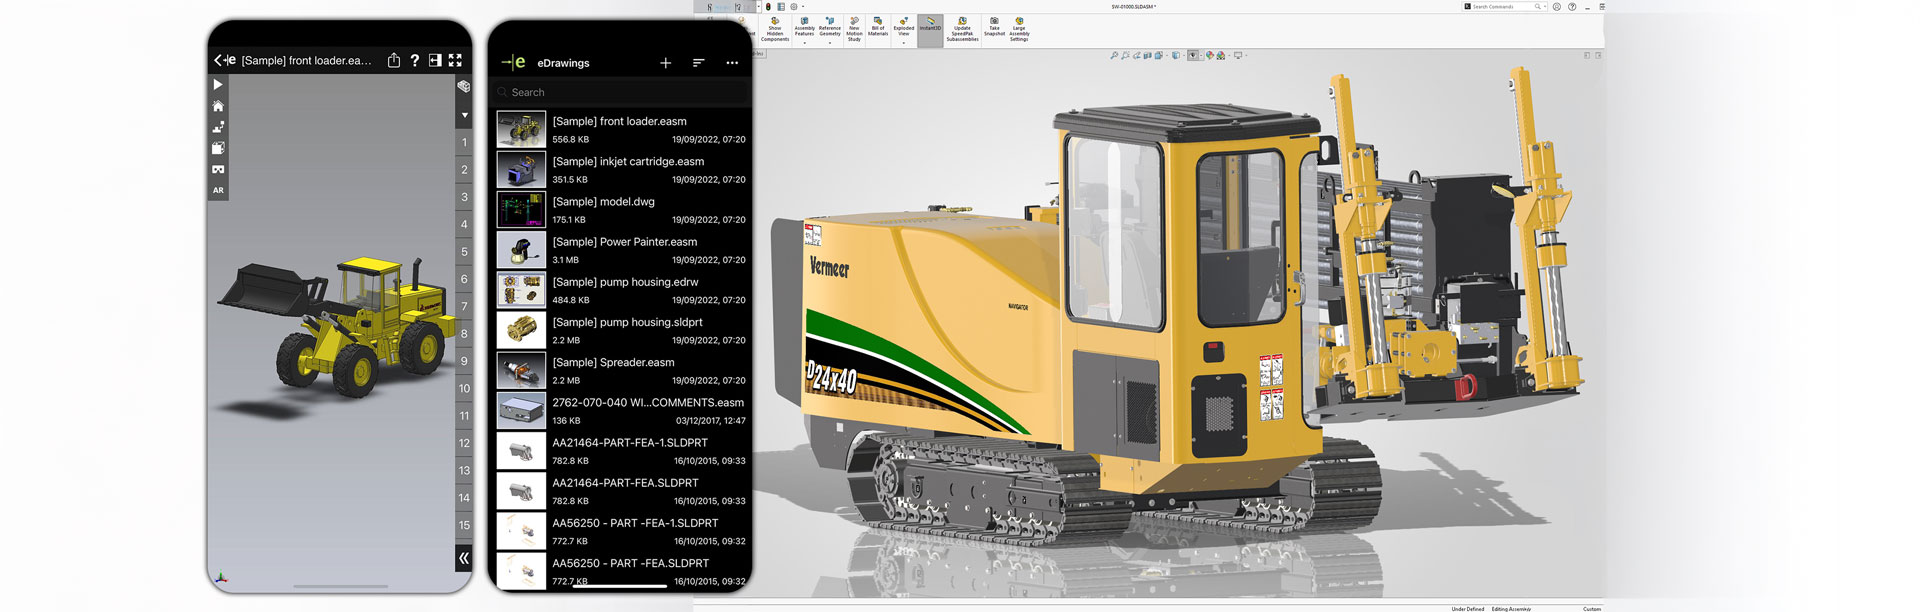
When you save a SOLIDWORKS file into a data management vault – either SOLIDWORKS PDM or 3DEXPERIENCE – the file enters a workflow. This workflow controls the lifecycle of CAD files and sometimes other documents. Its main purpose is to inform users of the status of objects, for example whether they are being worked on or approved for manufacture etc. It also controls what actions are allowed on a file, such as preventing modifications once the file is released.
This tutorial will focus on the automatic approvals for SOLIDWORKS files in 3DEXPERIENCE data management workflows.
Approval Routes in 3DEXPERIENCE
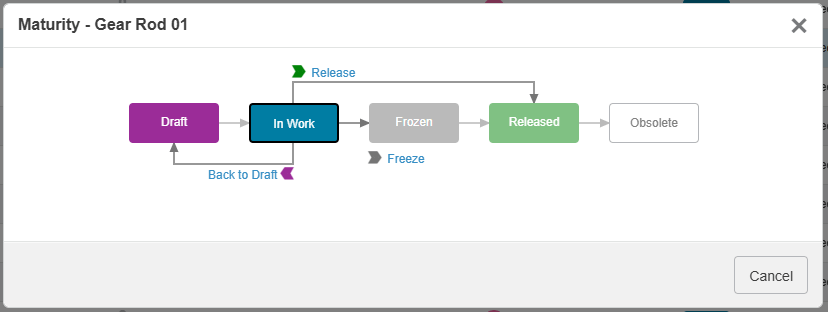
The diagram below shows the out-of-the-box lifecycle for SOLIDWORKS files in the 3DEXPERIENCE vault. Users work on CAD data in the “In Work” state before it transitions through “Frozen” (pending) to “Released”. What transitions a user can perform are dependent on their user credentials within the Collaborative Space.
Previously, approval processes within the 3DEXPERIENCE maturity workflow relied on manual intervention. This is no longer the case – 3DEXPERIENCE now supports automatic approval routes for SOLIDWORKS files. Approvals are an essential part of any data management workflow, defining the path a file follows through review and approval states before release. An automatic, intelligent workflow ensures seamless and timely approvals. So let’s look at how we can achieve this for our SOLIDWORKS files!
Configuring Automatic Approvals
The first step to configuring an automatic approval process is to create a route template. This template defines a preconfigured approval process:
- who must approve (users or groups)
- in what order they will approve (sequential or parallel)
- what task they need to complete to approve the file
- what actions occur when someone approves or rejects the file
After you create it, it can be applied to workflow transitions, or you can start it manually wherever needed.
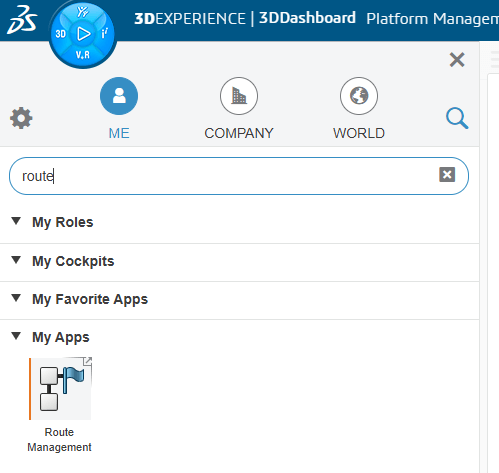
1. Navigate to and open the “Route Management” app
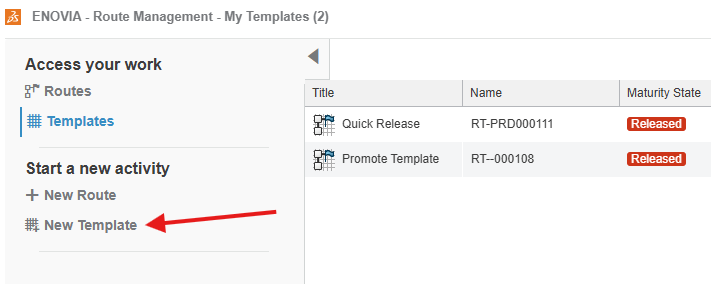
2. Choose to create a “New Template”. Note: It’s best to do this as a Leader.
3. On the Properties tab, define the Properties of the route template. Note: Make sure the Collaborative Space where you store the template is public, and set the Route Completion Action to “Promote Connected Object”.

Need help setting up the properties of a route template? Learn more here.
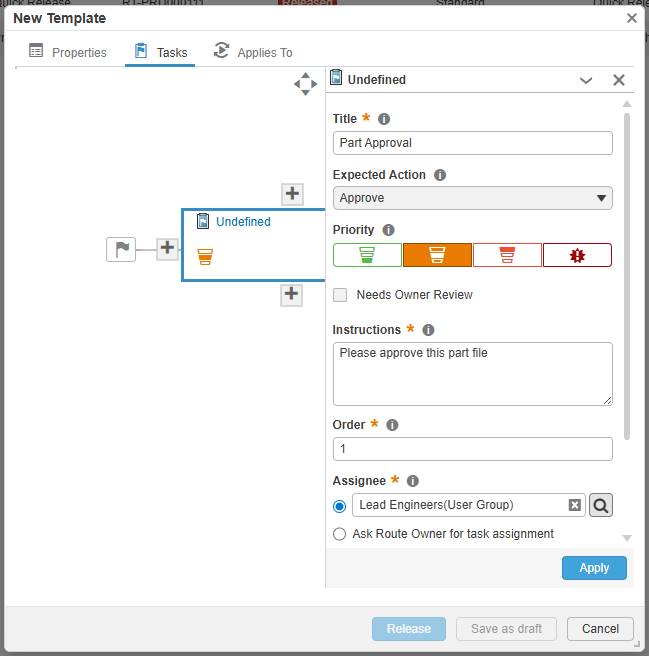
4. Next, add tasks to the route by choosing the “Tasks” tab. The Expected Action of the task should be to approve.
5. On the “Applies To” tab check the box to enable “Create and start automatically a route from this template when the following event occurs”. You then fill in the options. This defines what type of content the approval relates to and at what transition it occurs. The example below is configured so that this route template will be automatically applied to SOLIDWORKS parts and assemblies when they move from Frozen to Released.
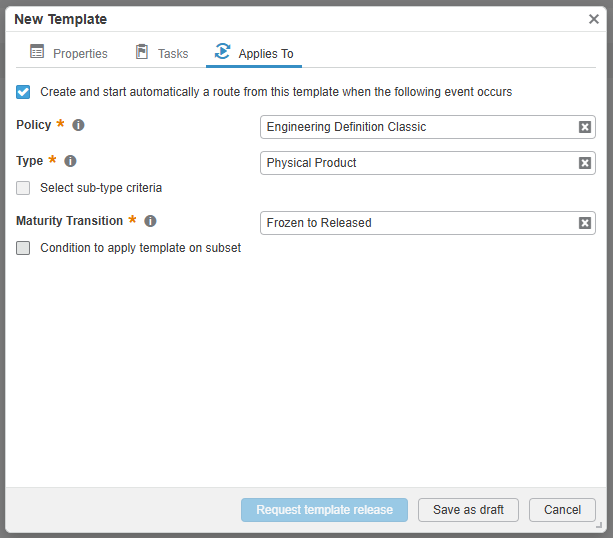
Need help setting up the “Applies To” tab of a route template? Learn more here.
6. After you create the template, Platform Administrators can release it to make it available to all users.
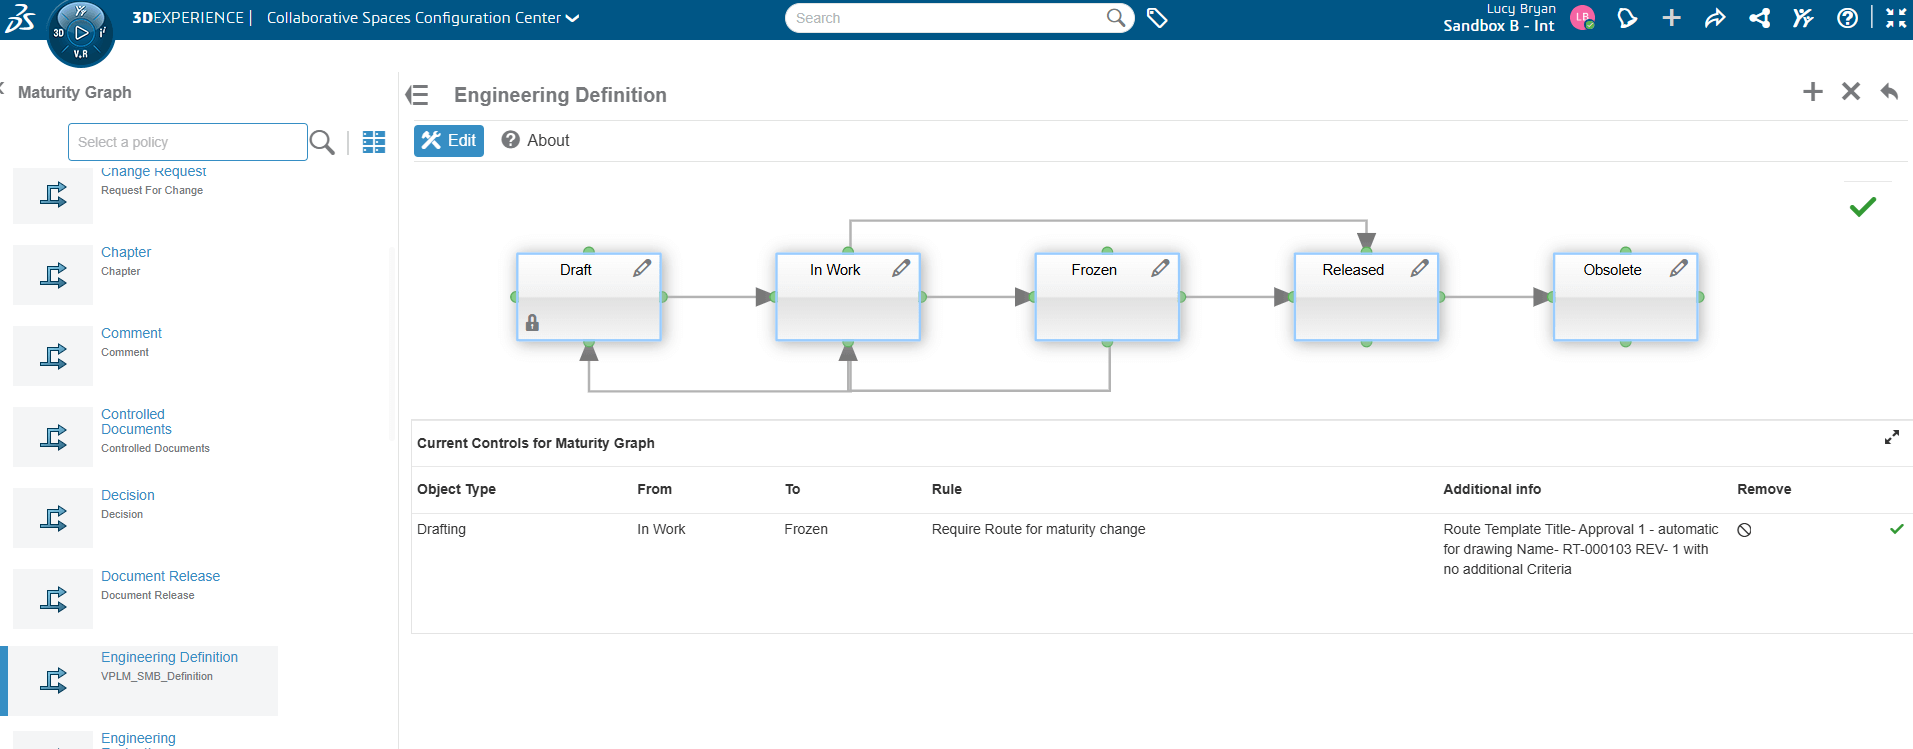
As a result, the system automatically adds a Require Route for Maturity Change rule in: Collaborative Spaces Configuration Center > Maturity Graph, based on the parameters you specify in the ”Applies To” tab.
Using Automatic Approvals
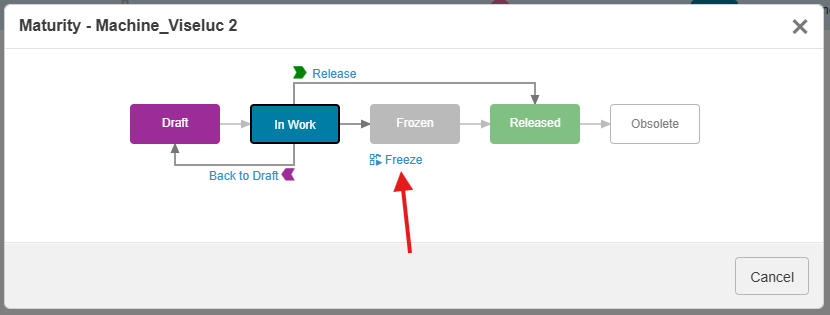
After you complete the configuration and release the template, the system automatically generates a route whenever a user triggers the defined maturity change for a SOLIDWORKS file that meets the criteria. The transition then appears in the maturity graph.
The video below illustrates the complete process and what that looks like for users in SOLIDWORKS.
For any further assistance or guidance you may need regarding 3DEXPERIENCE and SOLIDWORKS, use our support services or give us a call on 01223 200699.
 |
About the author: This guide was written by 3DEXPERIENCE Product Manager, Lucy Bryan. Lucy is an Elite SOLIDWORKS Applications Engineer and has been with the Visiativ Technical Support Team since 2019. |
|||
|
|
||||